Pine Wood Siding Installation Services Overview
Visitors will learn about local contractors who provide pine wood siding installation services and how to compare their expertise and offerings.
- - Pine Wood Siding Installation Services - connecting property owners with local contractors skilled in installing pine wood siding on residential and commercial buildings.
- - Local siding specialists - experienced service providers who handle installation projects for homes, barns, and other structures requiring pine wood siding.
- - Compare and contact - helping property owners find and connect with trusted local pros for pine wood siding installation needs.
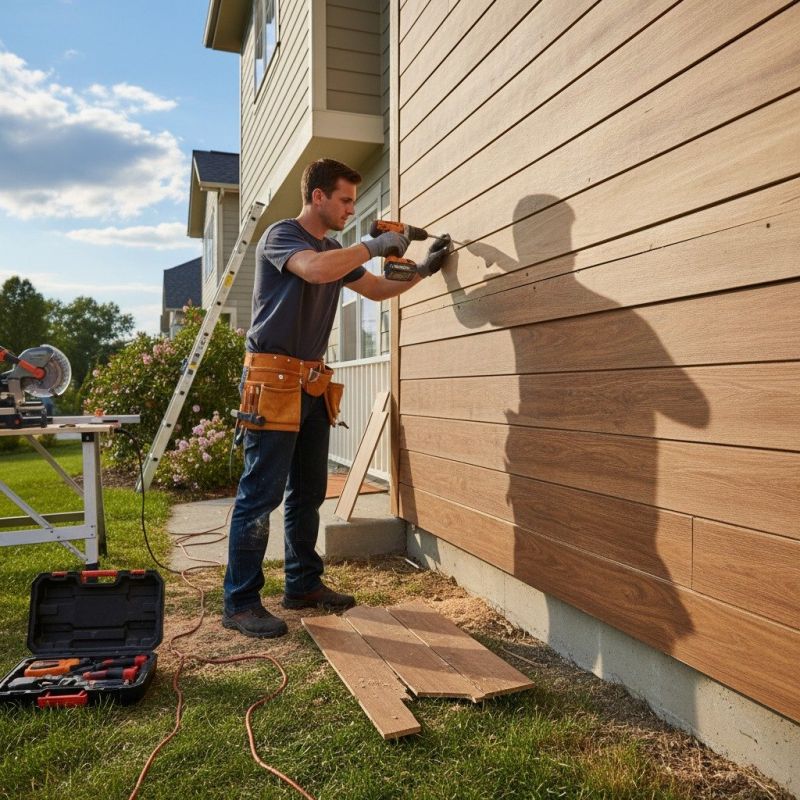
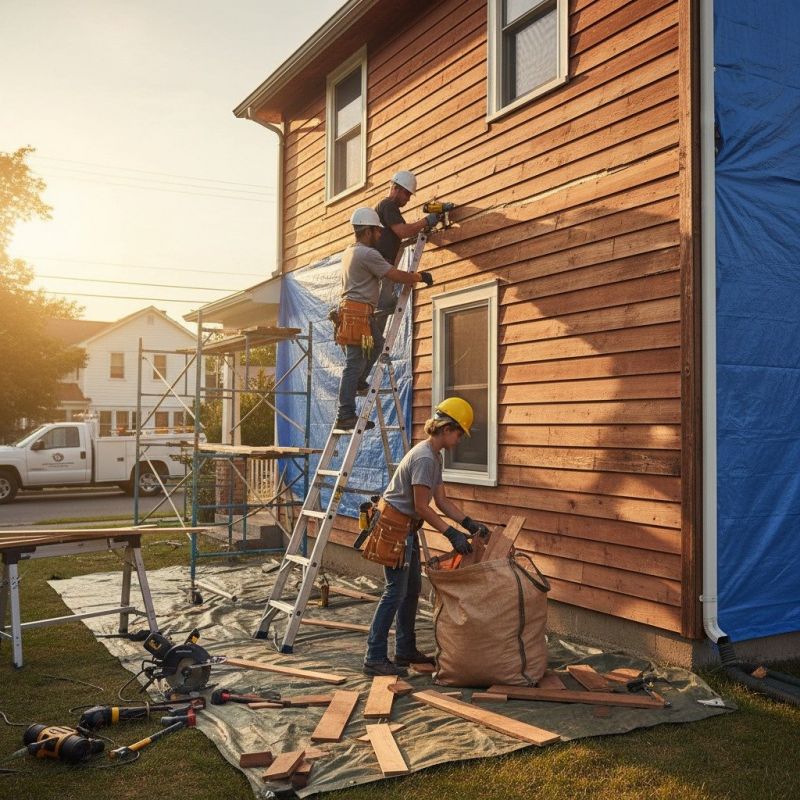
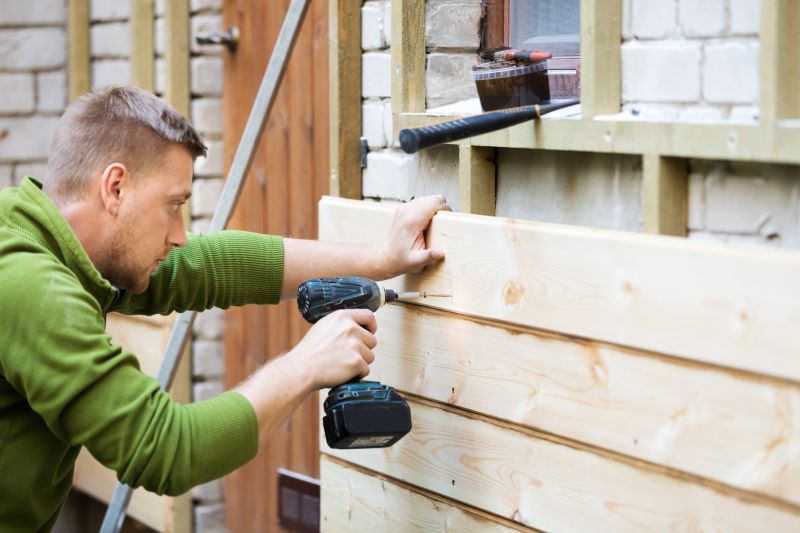
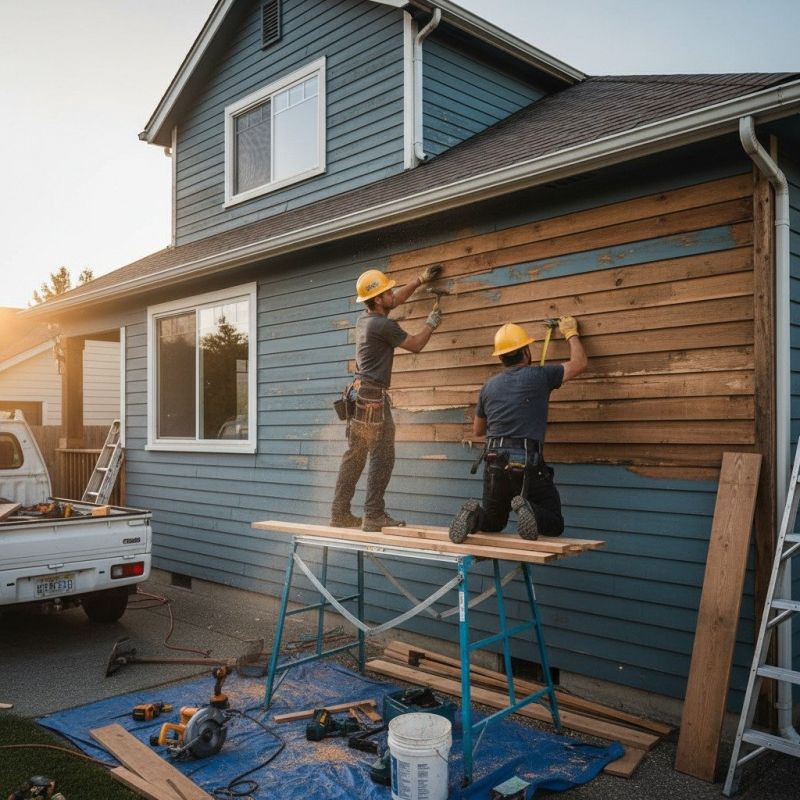
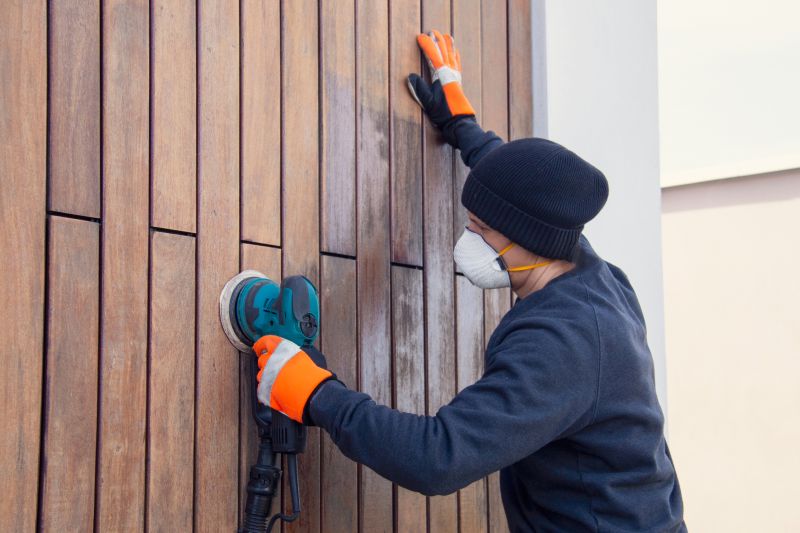
Pine wood siding installation is a popular choice for property owners seeking a natural and classic aesthetic for their homes or buildings. This type of siding involves attaching pine wood panels to exterior walls, which can enhance curb appeal and provide durable protection against the elements. Local contractors specializing in siding installation typically handle these projects, offering a range of services that include preparing the surface, measuring and cutting the wood panels, and securely fastening them to ensure a long-lasting finish. Homeowners often seek out local providers for their expertise in working with wood materials and their knowledge of regional building conditions.
Connecting with experienced local service providers is essential for those considering pine wood siding installation. These professionals can assess the specific needs of a property, recommend suitable siding options, and execute the work with attention to detail. Property owners may turn to local contractors for projects involving new installations or repairs of existing siding. By comparing different local options, property owners can find the right pros to handle their project efficiently and effectively, ensuring the siding is installed properly to meet their aesthetic and functional expectations.
This guide provides helpful information to understand the key aspects of Pine Wood Siding installation projects. It assists in comparing local contractors and service providers to find the right fit for your needs. Additionally, it offers insights to help you prepare for discussions with local pros about your project.